[G17 Supplementary Explanation] MOS Plate Explanation Part 1 How to Adjust the Screw Length
We will introduce how to install a red dot sight using a MOS plate.


The red dot sight we will use as a reference example this time is the SURE HIT MRS2 made by NOVEL ARMS, a renowned optical equipment manufacturer.

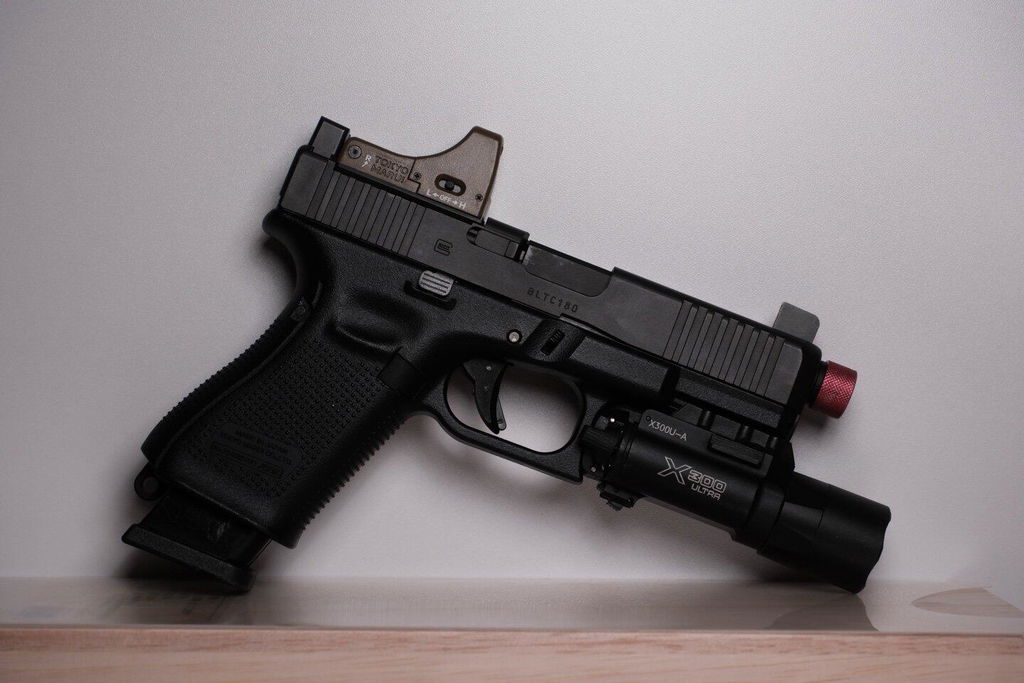
We will explain how to attach the SURE HIT MRS2 (hereinafter referred to as MRS2) to the BG-17.
First, remove the two M3 bolts on the top of the MRS2 out of the box to separate the sight body from the mount. These two bolts will be used to attach the sight to the MOS plate.

The MRS2 fits MOS plate number 01, so to check, first try screwing the MRS2 onto MOS plate number 01.

I was able to secure it in place with a tight fit, but when I looked at the back of the MOS plate, I could see that the tip of the M3 bolt used for fixing it was sticking out by just 1 mm.
In this state, the MOS plate cannot be attached to the top of the BG-17 slide, so you will need to cut off the excess length.

As you can see, the length of the bolts included with the MRS2 is approximately 12.2 mm, so we would like to shorten it to around 11 mm.

So I took out this, a pair of electrician's pliers. Anyone who tunes the inside of their electric guns probably has one, and it's a very handy tool for crimping and crimping terminals, and cutting and stripping the ends of wires. The cheapest ones seem to be on sale for around 800 yen.

These electrician's pliers also have the function of cutting screws, so let's take this opportunity to put them to good use. First, align the hole on the back of the hole engraved with M3 in white on the surface so that it lines up perfectly with the corresponding hole. The part painted light red in the image will cut the tip of the screw like a guillotine.

After that, screw the M3 screw you want to cut into the hole above the M3 mark. *The image uses a flat head screw prepared for the photo shoot.

It may be a little difficult to understand, but here is a side view of the electrician's pliers with an M3 screw set in it. I hope you can understand how the tip of the screw that goes below the horizontal yellow line will be cut off.
With this mechanism in mind, you simply screw in the M3 screw you want to cut to the required depth.

Once you have screwed the M3 screw to the required depth, grip the handle of the electrician's pliers tightly and cut the screw. M3 screws are easy to cut.

Once you've finished cutting, remove the M3 screw from the electrician's pliers. At this stage, the threads on the cut surface are smoothed out. About 1 mm of the tip of the screw has been neatly cut off. Now you can safely mount the MRS2 on the slide of the BG-17.